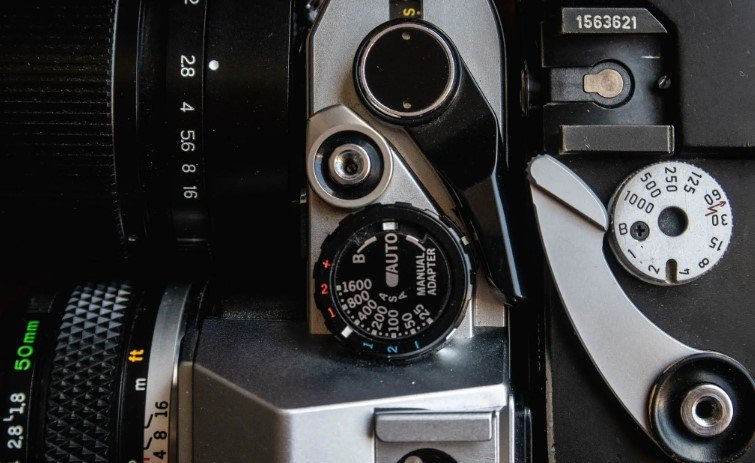
When it comes to photography, understanding the fundamentals of exposure is key. Exposure refers to how much light reaches your camera’s sensor, and it plays a vital role in how your photos turn out. The three elements that control exposure are shutter speed, aperture, and ISO. Together, they determine the brightness, clarity, and depth of your images. Let’s dive into each of these essential settings.

Shutter Speed: How Long to Let Light In
Shutter speed controls how long your camera’s shutter stays open, allowing light to reach the sensor. In simple terms, it determines the duration of exposure. A fast shutter speed (like 1/1000 of a second) captures quick moments, freezing fast-moving subjects, while a slow shutter speed (such as 1/30 of a second) can create motion blur, ideal for shots with flowing water or night photography.
A slower shutter speed will let in more light, but it may also introduce blur if the camera or subject moves. To avoid this, use a tripod or increase your ISO to compensate for slower speeds. On the other hand, a faster shutter speed ensures sharper images but may need adjustments in aperture or ISO to balance exposure.
Aperture: Controlling Depth of Field
Aperture refers to the size of the opening in the lens that lets light into the camera. It’s measured in f-stops, such as f/1.8 or f/16. A wider aperture (lower f-stop number) lets in more light and creates a shallow depth of field, which results in a blurred background. This is great for portraits, where you want the subject in sharp focus and the background softly blurred.
Conversely, a smaller aperture (higher f-stop number) lets in less light and produces a deeper depth of field, meaning more of the scene is in focus. This is ideal for landscape photography, where you typically want both the foreground and background to be sharp.
ISO: Adjusting Sensitivity to Light
ISO controls the sensitivity of your camera’s sensor to light. A lower ISO setting (like 100 or 200) is ideal for bright conditions and produces cleaner, sharper images with less noise. On the other hand, higher ISO settings (such as 1600 or 3200) are useful in low-light situations, but they introduce more digital noise (graininess) into your photos.
Balancing ISO is essential for capturing images without compromising quality. If you need a faster shutter speed or a smaller aperture in low light, increasing your ISO can help compensate. However, it’s always better to keep ISO as low as possible to avoid excessive noise.
How Shutter Speed, Aperture, and ISO Work Together
Shutter speed, aperture, and ISO are interconnected. Changing one setting will affect the others. For example, if you use a fast shutter speed to freeze motion, you may need to open the aperture wider or increase the ISO to maintain proper exposure.
This relationship is often referred to as the “exposure triangle,” and it’s essential to find a balance that works for the scene you’re capturing. Practice adjusting these settings to see how they influence your photos and learn how to achieve the best exposure for different lighting conditions.
Conclusion
Understanding camera settings, aperture, and ISO is the foundation of mastering photography. Each setting affects exposure and the overall look of your images. By experimenting with these elements and learning how they work together, you can take full control of your camera and create stunning photos in any situation. Start practicing today, and you’ll soon notice the difference in your photography skills.


