Lighting plays a huge role in photography. Whether you’re a beginner or a professional, understanding how to use light is essential to capturing beautiful photos. In this post, we’ll cover the top photography lighting tips to help you improve your shots. By mastering lighting, you can enhance your images, create mood, and highlight your subject perfectly.
Understand the Different Types of Light
Before diving into tips, it’s important to know the different types of light available to you. Each type of light can impact your photos in different ways.
Natural Light
Natural light is the light you get from the sun. It’s often soft and flattering, especially during golden hour (the hour just after sunrise or before sunset). Many photographers love natural light because it creates a natural feel and works well for portraits and landscapes.
Artificial Light
Artificial light comes from sources like lamps, flashes, and studio lights. It gives you more control over your lighting conditions, especially in indoor or low-light situations. Understanding how to use artificial light properly is one of the top photography lighting tips to make your photos look professional.

Use the Right Light Position
The position of your light source can make a huge difference in your photos. The way light falls on your subject affects its mood, shadows, and depth.
Front Lighting
Front lighting is when the light comes from the front of your subject, illuminating it evenly. This technique is great for portraits because it reduces harsh shadows and highlights details on the face. However, it can sometimes make your photos look flat, so experiment with the angle for a more dynamic result.
Side Lighting
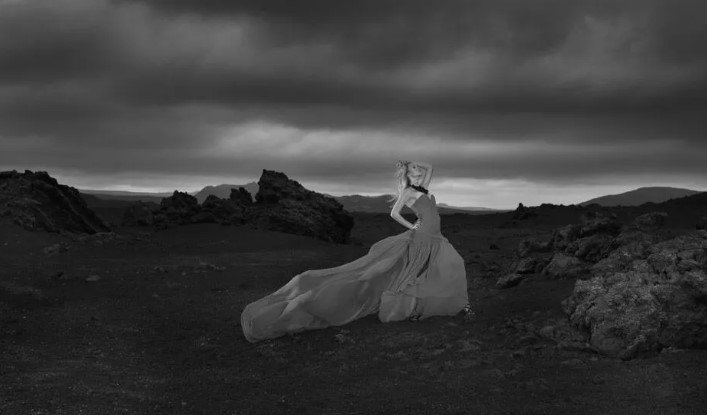
Side lighting creates shadows and highlights, giving your subject more depth and dimension. This is perfect for creating dramatic, moody photos. Side lighting works well with textures and can be used for product photography or portraits to add character.
Backlighting
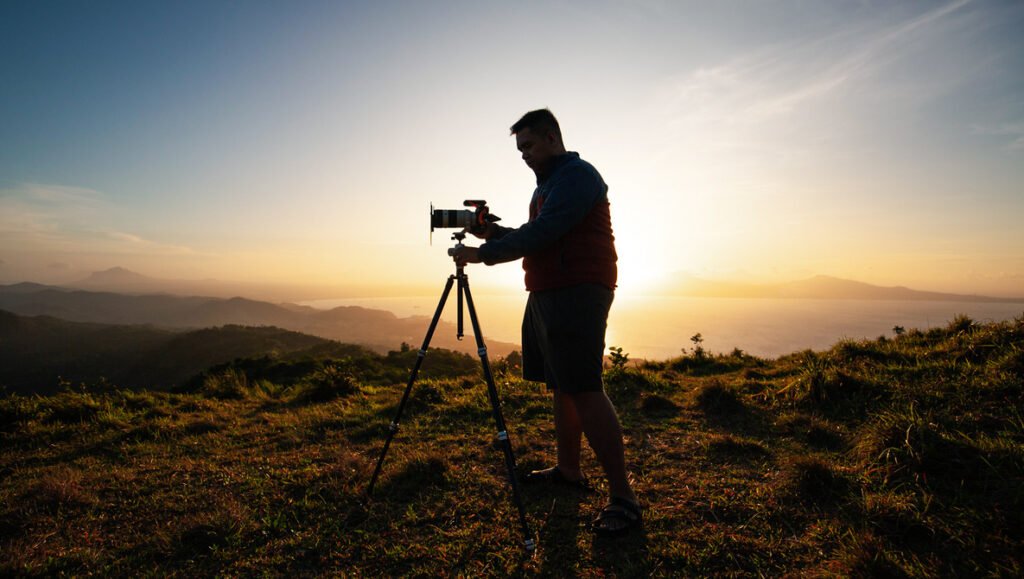
Backlighting happens when the light is behind your subject, often creating a silhouette effect. This technique can result in beautiful, ethereal photos, especially during sunrise or sunset. However, it’s important to expose for the light to avoid underexposing your subject.
Soft vs. Hard Light
Understanding the difference between soft and hard light is one of the top photography lighting tips to know. Both types of light have their place, depending on the look you want to achieve.
Soft Light
Soft light is diffused and gentle. It’s often used for portraits because it creates smooth, flattering skin tones. You can achieve soft light by using a diffuser or shooting on an overcast day. Soft light reduces harsh shadows and makes the subject look more even and natural.
Hard Light
Hard light, on the other hand, creates sharp shadows and highlights. It’s ideal for creating contrast and drama in your images. You can get hard light from direct sunlight or a direct flash. While it’s not always ideal for portraits, it works well for architectural or landscape photography.
Experiment with Light Modifiers
Light modifiers help you control the quality of light in your photos. They can soften, diffuse, or direct light to create the perfect atmosphere.
Reflectors
A reflector bounces light onto your subject, filling in shadows and creating a balanced exposure. This tool is inexpensive and easy to use. Reflectors come in different colors, such as white, silver, and gold. White is neutral, silver adds brightness, and gold creates a warm glow.
Softboxes and Umbrellas
Softboxes and umbrellas are great for diffusing light and creating soft, even illumination. They are especially useful in portrait photography. These modifiers spread the light across a larger area, reducing the intensity of shadows.
Use the Right White Balance
White balance ensures that your photos have accurate colors under different lighting conditions. Setting the right white balance is crucial for getting the most natural look in your photos.
Adjust White Balance
If your photos look too warm or too cool, adjusting the white balance can help fix this. You can set it manually or use preset options like daylight, cloudy, or tungsten to match the light you’re working with. Getting this right is key for making your images look true to life.
Don’t Forget About Directional Light
The direction of light is just as important as its type and intensity. Light can come from above, below, or at eye level, each creating a different effect.
Overhead Light
Overhead lighting can create interesting shadows and textures. It’s often used in still life or food photography. However, it can also cause unflattering shadows on a person’s face, so it’s important to consider the angles when using overhead light.
Low Lighting
Lighting from below can create an eerie, dramatic effect. It’s perfect for spooky or horror-themed photography. You can use this technique by placing a light source low and pointing it upward to cast interesting shadows.
Conclusion: Master Lighting to Improve Your Photography
In conclusion, understanding lighting is one of the most important photography skills you can develop. Whether you’re using natural light or artificial light, experimenting with different light positions, and controlling the light quality with modifiers, these top photography lighting tips will help you create stunning images. Always keep practicing, try new techniques, and pay attention to how light affects your photos. Mastering lighting will take your photography to the next level!


